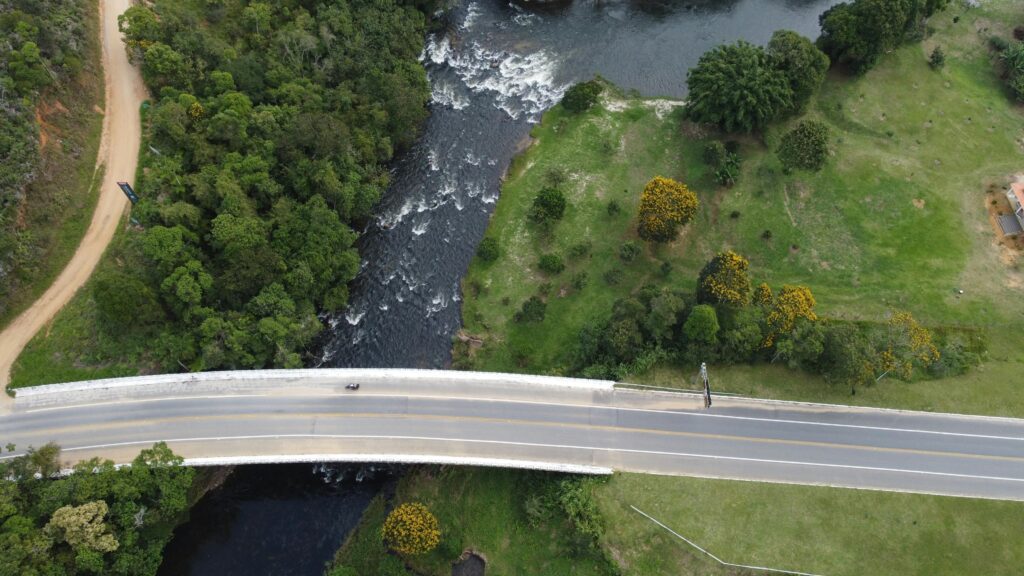
Learn how to capture stunning aerial shots with affordable drones. Discover expert camera settings and pro tips to elevate your photography.
Summary:
Unlock the full potential of your budget-friendly drone with this comprehensive guide, where you’ll discover:
Post-Processing Secrets:
Enhance your images with expert editing tips that turn great photos into awe-inspiring works of art.
Advanced Camera Settings:
Learn how to fine-tune your drone’s camera for stunning, professional-quality images—even on a budget.
Pre-flight Preparations:
Master essential safety checks and setup techniques to ensure optimal performance and smooth flights every time.
Expert Pro Tips:
Dive into step-by-step strategies and insider techniques that will help you capture breathtaking aerial shots, regardless of your experience level.
1. Choosing the Right Affordable Drone
Key Features to Consider:
- Camera Quality:
Look for drones with at least a 12MP camera; even budget models can produce crisp images if the settings are correctly adjusted. - Stability & GPS:
Essential for smooth flight and steady shots. - Flight Time:
Aim for drones offering a minimum of 20 minutes per battery charge. - Portability:
Compact and foldable designs allow you to take your drone on all your adventures.
2. Preparing for Your Flight
Pre-flight Checklist:
- Weather Conditions:
Choose days with clear skies and minimal wind to avoid unstable flight. - Battery Check:
Ensure both the drone and controller batteries are fully charged. - Firmware & Software Updates:
Always update to the latest firmware for optimal performance. - Safety Measures:
Check local regulations and designate a safe flight zone.
3. Optimising Camera Settings on Your Affordable Drone
Even on a budget, a well-configured drone camera can yield stunning results. Here are the advanced settings you need to focus on:
A. Resolution & Frame Rate
- Resolution:
Set your drone to its highest available resolution for detailed, high-quality images. - Frame Rate:
For photography, a lower frame rate is acceptable. However, if you’re capturing video, choose a frame rate that balances smooth motion and clarity.
B. ISO Settings
- Low ISO in Bright Conditions:
Keep the ISO low (around 100-200) to reduce image noise. - Adjust for Low Light:
In darker environments, gradually increase the ISO, but be cautious of introducing too much grain.
C. Shutter Speed
- Faster Shutter Speed for Bright Conditions:
This will help capture sharp images even in well-lit scenarios. - Slower Shutter Speed for Low Light:
Use a tripod or stabilisation mode to avoid blurring if you must use a slower shutter speed.
D. White Balance
- Auto vs. Manual:
While auto white balance works in most situations, switching to manual settings can yield more accurate colours in challenging lighting conditions. - Preset Modes:
Experiment with presets (sunny, cloudy, etc.) to see which delivers the best colour accuracy for your scene.
E. Focus & Exposure
- Manual Focus:
If your drone allows it, use manual focus to ensure your subject is sharp. - Exposure Compensation:
Adjust exposure settings to balance brightness and detail, especially in high-contrast scenes.
Pro Tip: Spend time practicing these settings before a big shoot. Even a cheap drone can produce pro-level shots with the right adjustments
4. Capturing the Perfect Shot
Composition & Techniques:
- Rule of Thirds:
Position key elements off-centre for balanced and engaging images. - Experiment with Angles:
Try different altitudes and perspectives to add depth and interest. - Timing & Lighting:
The golden hours (early morning or late afternoon) offer soft, warm light that enhances your shots.
Advanced Techniques:
- Hover & Stabilise:
Use hover mode to capture crisp images without motion blur. - Utilise Burst Mode:
Take multiple shots in quick succession to capture the perfect moment. - Monitor Your Settings:
Regularly review your images on your mobile device or tablet and tweak settings as needed.
5. Post-Processing Your Aerial Images
Essential Editing Tips:
- Crop & Straighten:
Correct any misalignment and focus on the subject. - Enhance Colours:
Adjust saturation, contrast, and brightness to make your images pop. - Sharpen Details:
Use clarity and sharpness tools to bring out texture and detail.
Recommended Software:
- Adobe Lightroom & Photoshop:
Perfect for detailed adjustments and creative edits. - Free Alternatives:
Consider tools like GIMP or mobile apps that offer robust editing features.


